Alright, so I’m SO over restarting MySQL on my wife’s blog. It keeps dying, sometimes multiple times per day. Thanks to Uptime Robot that I setup, my phone gets a text message whenever House of Hepworths goes down. The bad part – sometimes it happens in the middle of the night. Or while I’m driving. I have literally restarted MySQL from a stoplight. Yes, it’s sad. I installed a terminal app on my iPhone (vSSH Lite) and can now restart MySQL in about 10 seconds by launching the terminal app, establishing a SSH session with the server, hitting up (since, ya know, the last command I probably ran on the server was to start MySQL!), and BAM! Blog back up.
Her blog has been stable for so long, but this restarting sometimes multiple times per day just recently started happening a little over a month ago. A few days ago I was on support with HostGator when they had an actual outage with some of their Infrastructure (not just MySQL on my VM dying and needing to be restarted). I told them how MySQL has been dying a lot lately and their answer was, as expected, to implement caching. As I mentioned in my previous post, this is something I’ve been meaning to do for a while. MySQL keeps filling up the memory and crashing.
After reading many different websites and blogs, I decided to go with WP Super Cache instead of W3 Total Cache. There are a few others, but these are the two main caching plugins that WordPress users are using. Both seem like good caching mechanisms. From what I can tell, W3 Total Cache can potentially be more powerful if you configure it right, but for some people it has actually had the reverse effect and made their blogs run slower if not properly configured. WP Super Cache has also been reported to be easier to setup.

The most expensive operation on most applications is hitting the database. Caching allows the web server to store static pages of your blog or website without having to go all the way back to the database on every single request. Then, when a page needs to be updated (i.e. a comment is left), the cache will be updated. If nothing has changed, then a static page is server out to the user and the database is never touched.
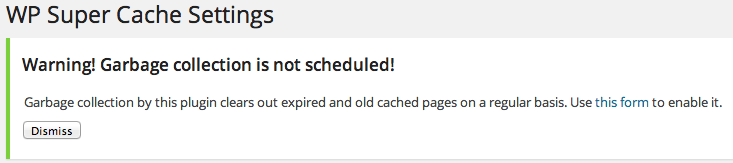
So, first things first – I installed WP Super Cache plugin from the WordPress Dashboard. Actually, the first thing I did was to take a full backup of both the filesystem and the database. Then, I ensured WordPress and all plugins were up to date. Then, I went to the Settings for WP Super Cache (Under Plugins), I noticed the following error message at the top of the screen:

I noticed that Caching was disabled by default, so I left it that way and went on a mission to get that error to go away before proceeding forward with enabling WP Super Cache. I clicked on the Troubleshooting Guide and it took me here.
Point 5 states:
Make sure the following line is in wp-config.php and it is ABOVE the "require_once(ABSPATH.'wp-settings.php');" line:
define( 'WP_CACHE', true );
At some point I’ll write a post about why you should have SSH access to the server that hosts your blog and how to get around a terminal. If you don’t have that now, I highly recommend it. For example, to modify wp-config.php if you have a linux hosting provider and SSH access, to edit the file you just do the following:
- SSH to server
- Open up file directly on server and edit
- save…done
- FTP to server
- download wp-config.php file
- Edit the file locally on your computer and save it
- Upload file back to server
Or, you can do the following:
The 2nd option is such a pain to have to mess with FTP and all of that when you can just directly do it on the server. Of course, always take a backup before editing any file regardless of how you edit the file.
So I cracked open wp-config.php to see what was up. The file looked good to me. The line referenced was on line 19, along with another one on line 20:
19 define('WP_CACHE', true); //Added by WP-Cache Manager

20 define( 'WPCACHEHOME', '/home/hoh/public_html/wp-content/plugins/wp-super-cache/' ); //Added by WP-Cache Manager
Those two lines were definitely above line 78:
77 /** Sets up WordPress vars and included files. */

78 require_once(ABSPATH . 'wp-settings.php');
I guess it was just a warning to make sure the file is propertly configured. I didn’t have to make any changes to it. When I reloaded the Advanced page the error went away. Nothing to see here…move along.
I then followed the instructions on HostGator’s website for configuring WP Super Cache that you can find here.
After doing step 1 and enabling all of the appropriate Advance Options, I got the following message at the top of the screen:

Wouldn’t you know it, that was step 2 on HostGator’s instructions. I could tell by the words on the screen that it was going to update the .htaccess file, so I made a backup of it first.
cd ~/public_html

cp .htaccess .htaccess-before-cache
I clicked the “Update Mod Rewrite Rules” at the bottom of the screen and got this:
Mod Rewrite rules updated!
/home/hoh/public_html/.htaccess has been updated with the necessary mod_rewrite rules. Please verify they are correct.
Followed by all of the mod_rewrite rules.
I manually opened up the .htaccess file and verified that the rules were in there and they were. I noticed it had created it’s own section and pushed the default WordPress .htaccess to the bottom, but it was still there:
# BEGIN WordPress


RewriteRule ^index\.php$ - [L]

RewriteCond %{REQUEST_FILENAME} !-f

RewriteCond %{REQUEST_FILENAME} !-d

RewriteRule . /index.php [L]
# END WordPress
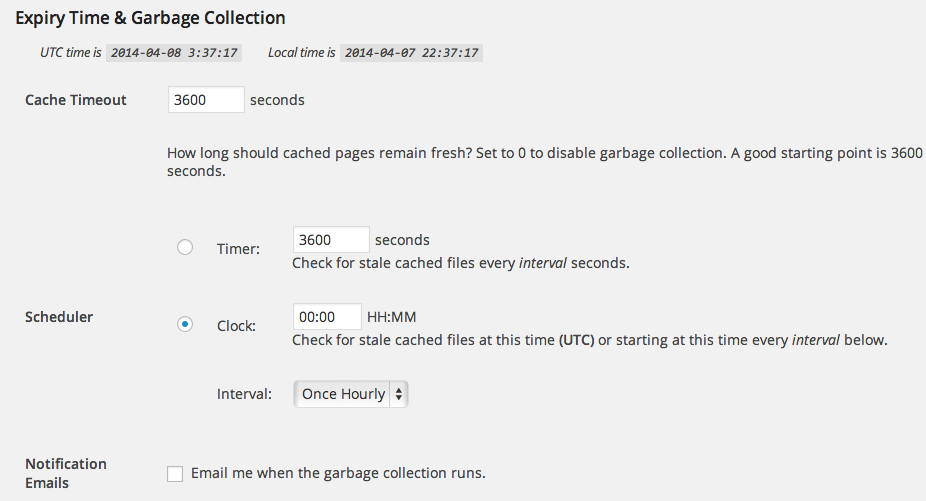
I then noticed that the top of the screen now had the following message:
…and that was the next step from HostGator’s instructions as well. It was already set to 3600 seconds, but I clicked the “Change Expiration” button anyway. Maybe a previous version of the WP Super Cache plugin didn’t have it set to 3600 and HostGator’s instructions are a tad out of date.
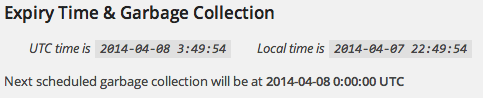
After clicking “Change Expiration”, the following was displayed:
The fourth option was to leave the default Rejected User Agents. They were already set, but for kicks I clicked the “Save UA Strings” button just in case.
After completing those steps, I went back to the Easy tab and it is now reflecting that Caching is on.
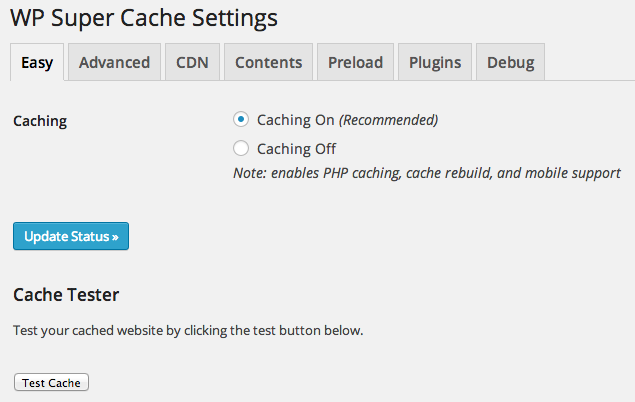
My next question was “how do I know caching is working?” There was a button right underneath it to test caching. After clicking it, I saw the following:
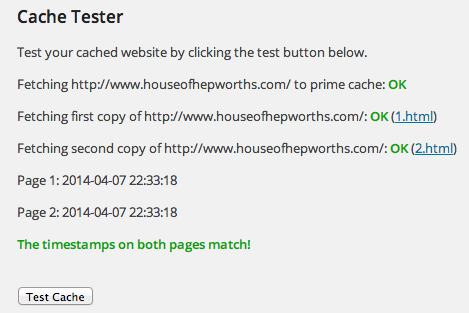
It looks like it retrieves one file, checks the timestamp on it – then retrieves the same file again. If the timestamps match, it proves that it is still the same file and did not have to go all the way back to the database to get the content.
Honestly, I don’t know why I waited this long to enable caching. I remember trying to do this around a year ago and ran into some errors with it working. Maybe it was some old incompatibility issue between whatever theme/plugin/wordpress version. For now, it is working so far – let’s see how long I the server lasts now without having to do a restart (hopefully never).
At the time of writing this, House of Hepworths was running:
Wordpress 3.8.1
WP Super Cache 1.4
Genesis Framework 2.0.2
Genesis Lifestyle Theme
cool